As a school we’ve mastered lots of literacy. Our teachers have been using guided reading for almost 20 years. They do a nice job of teaching comprehension skills as well, but we found we fell short in the area of phonics. All of our teachers were teaching phonics in whatever way they chose. Some used F and P phonics and some used word families and really focused on phonics during spelling. As the reading specialist I notice that about 80-85 percent of our kiddos have reading strategies and pick up the phonics through the spelling and do just fine. There is the other percentage of students who struggle and really lack the phonics they need to decode unknown words where other strategies don’t work. You can’t chunk up a word when you don’t know what the chunks say. Because we saw this deficiency amongst the grades, we knew that ramping up our tier one phonics instruction was the way to go.

Several of our teachers attended Orton-Gillingham training over the past year. If you don’t know what Orton is, it’s a multi-sensory approach to teaching reading, particularly phonics. We knew that if all of our children were taught with the Orton-Gillingham method, there would be more fidelity of instruction, especially for those who receive small group intervention. These kids would be able to go into intervention rooms and be familiar with the process. Orton used to be thought of as just a one-on-one or small group intervention, but IMSE, a training facility for Orton, has really focused their training for whole class instruction. In an effort to make this process as painless as possible teachers were trained and given all of the materials needed to use Orton in their classrooms. My friend and I created phonics curriculum map, hearing sounds in words test, dictated sentences and other materials for each grade level. This year is our first year with grades K-3 using these methods and we are already seeing such wonderful results with children’s ability to decode and encode.

So what does phonics at our school look like? A kindergarten teacher let me come crash her phonics party so you could take a peek.
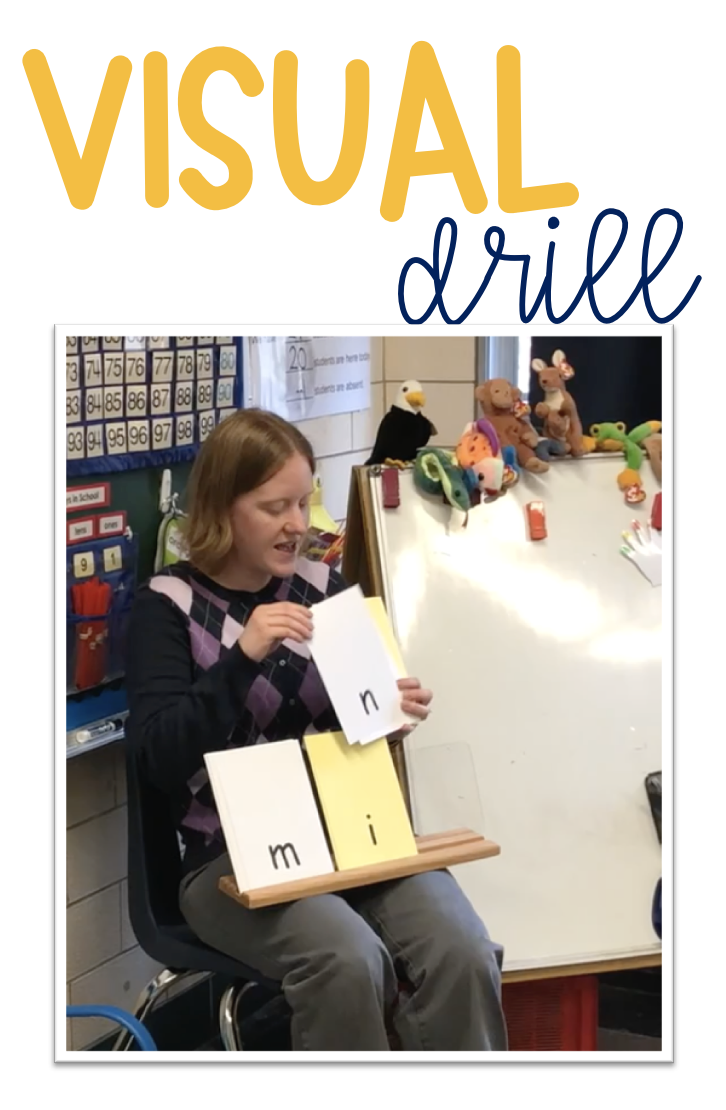
One of the main parts to Orton is the three part drill. These repetitive drills help students to review all previously learned phonics instruction. Just as the name suggests, there are three parts to this phonics review. Part one is the Visual Drill. Students are shown a grapheme and they are suppose to make the sound.
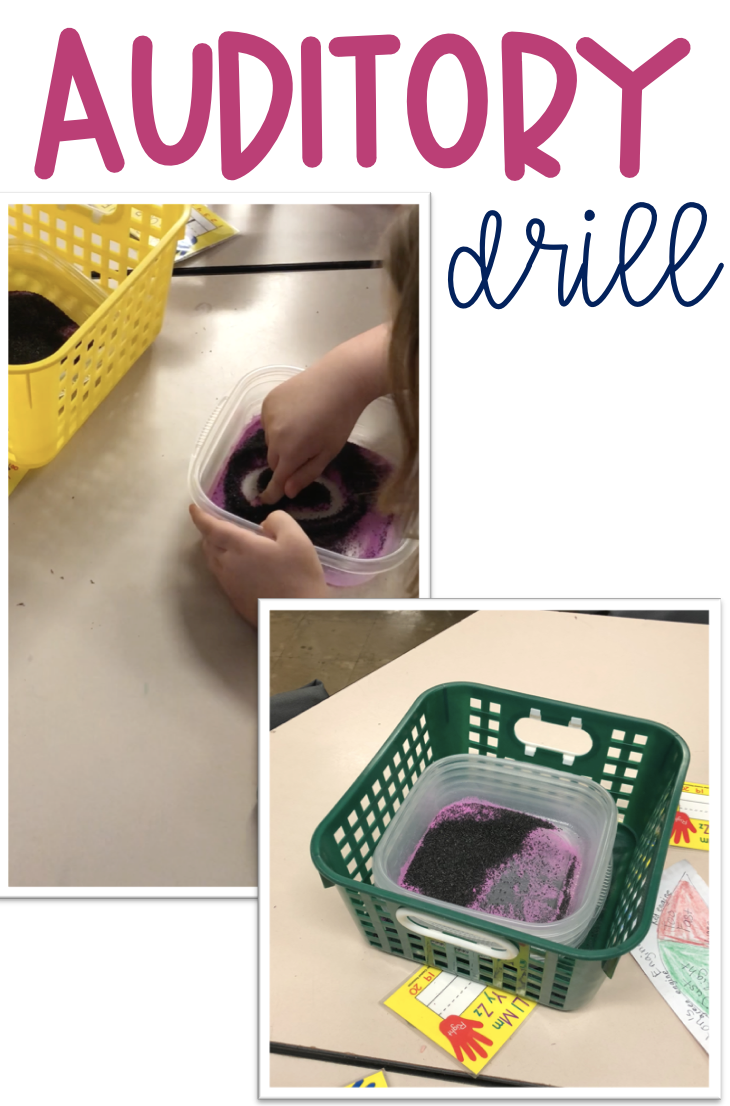
The next part of the drill is the Auditory Drill. Students are given a previously learned sound and they are to make the sound, as well as write the letter/letters. This often done is sand, part of the multi-sensory piece, but can be written on white boards, or done in some other medium.
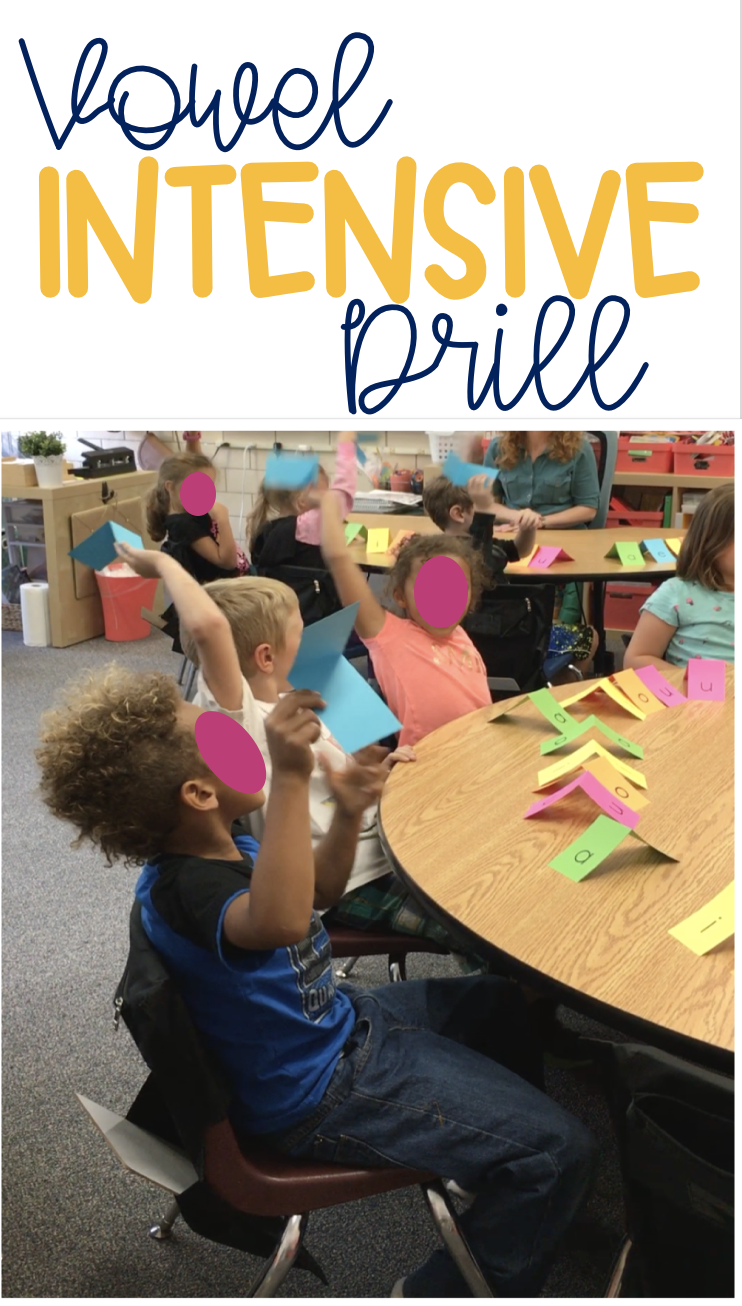
The final part of the three part drill is the blending drill. Students look at the graphemes, previously practiced and blend them together to decode a word.
In my small groups I use plates, as they are cheap, easy and I can pass them out quickly. See below.
The final part of the drill is the blending drill. It’s easiest to sort the cards on the blending board, as the teacher about did during the visual drill so the cards are ready to go and blend. Blending is always a struggle for some kids so regular practice with this is an exceptionally important activity.

In addition to these activities that review previously learned phonics, there are several activities that can be done to introduce new sounds, as well just any fun activities you can think of to reinforce a grapheme/phoneme combo. As students progress through the grades, they also learn to about syllable types, how to syllable divide, etc. These are all skills that help kids decode as text gets harder.
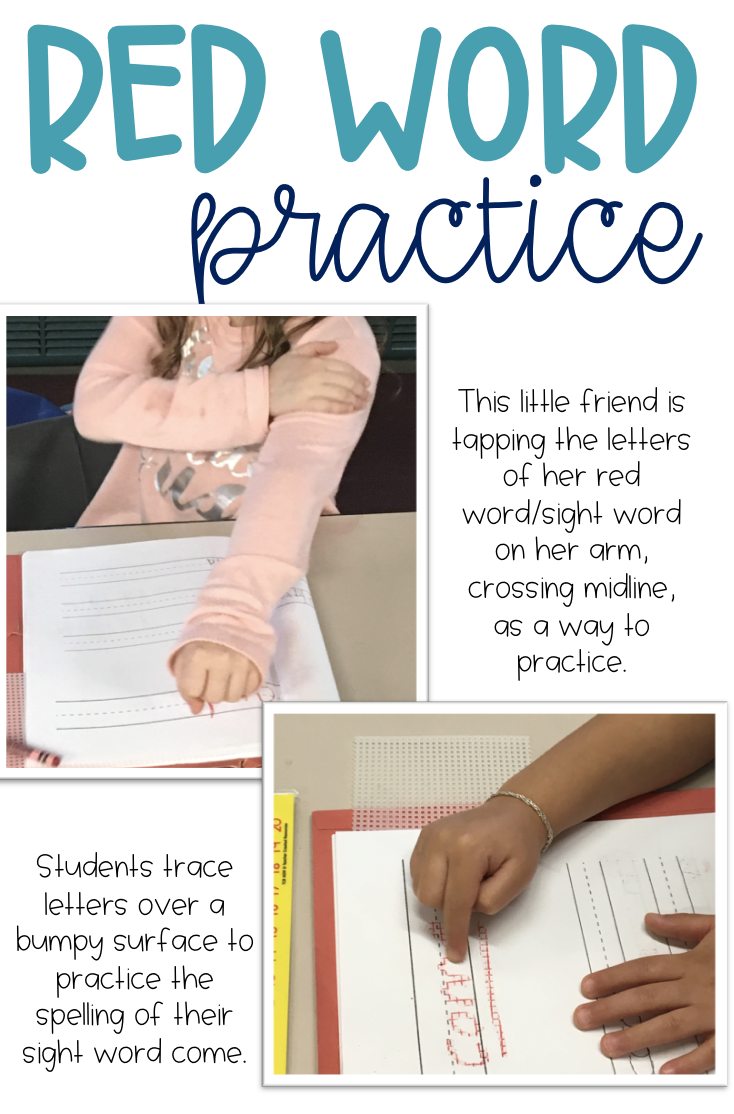
We also use a multi-sensory approaches for teaching sight words. These are called red words.
Students get out red word books and red crayons
The teacher presents the first red word on the board. Say the word. Say each letter.
Then students copy the word into their book with a bumpy screen underneath and they will show the teacher their word.
Students and teachers stand up, place right hand on the left shoulder. (If left handed, you’d place your left hand on your right shoulder).
Then the teacher models how to arm tap a red word.
The student and teachers tap the word three times.
Students and teachers use their pointer finger to trace over each letter of the bumpy word they wrote. Say each letter out loud while tracing. Underline and name word. Repeat 3 times!
Then the student and teacher place the screen over the page. Use pointer finger to trace over each letter of the word. Say each letter out loud while tracing. Underline and name word. Repeat 3 times!
Finally students will turn their page over and write the word without the screen one time. Once the teacher checks they can write it three more times. They then write a sentence and underline the word in red.
If you would like to see some other phonics activities we do to reinforce sounds and hearing sounds in words, you can read this post.

I also promised a little phonics freebie. Because students need lots of practice with phonics, we often created games for them to play and practice. Our second graders have been introduced to most long vowel sounds, so I’ve created a game similar to uno to help them practice these words. If you would like to, you can grab the game below.


2 thoughts on “Phonics”
Are the curriculum maps and assessments available for purchase somewhere? I did the OG training last summer and loved it. I really like how you laid out your curriculum maps.
Do you have the phonics maps and assessments that goes along with IMSE Recipe for Reading for purchase? I would love to use these at my school. I am a Reading Specialist and we were all just recently trained and will implement this the next school year.